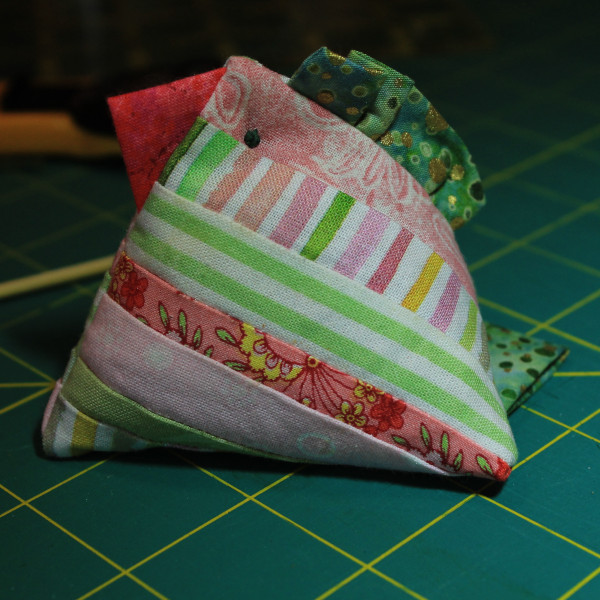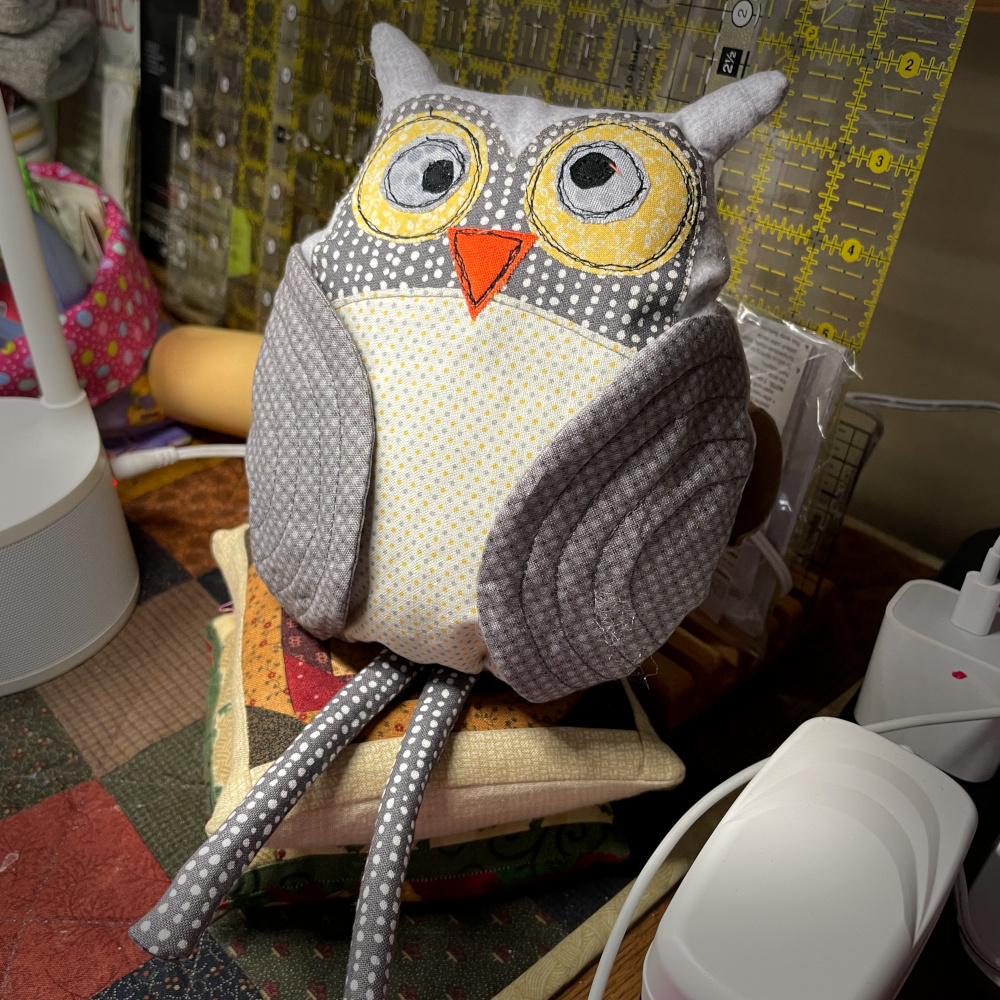
Juniper Owl was inspired by an owl my granddaughter spotted at an outdoor winter market last December as we explored the festively decorated and overflowing wooden stalls of the enchanted Duluth Winter Village set up on the shore of Lake Superior.
Despite the cold, Winter Village was packed. Maybe it was so busy because Covid prevented the 2020 Village and the new location motivated many to brave the cold. So with the long lines, children in tow interested in cotton candy, and the cold I was not able to purchase this owl on the down-low for a Christmas present. The owl she spotted, which was beautifully constructed, was priced at $40.
From memory I needed to create something similar to meet my granddaughter’s expectations. I also looked to Pinterest for inspiration.
When Hattie met Juniper Owl on Christmas Day she recognized it as the owl she saw at the Winter Village.
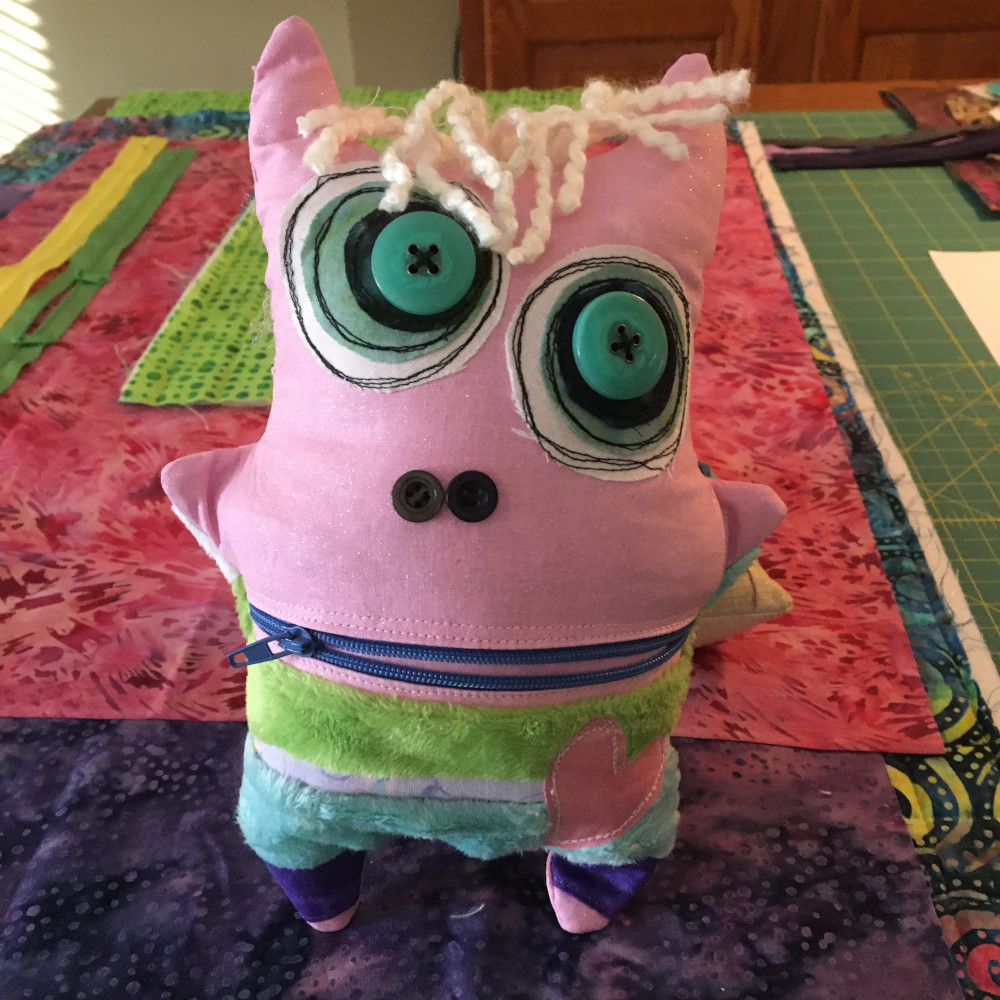
Worry Stuffie 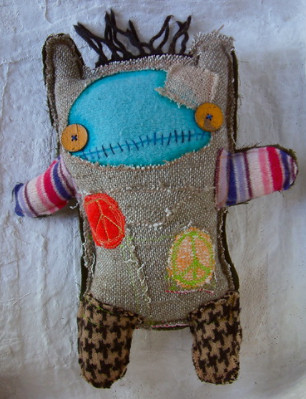
Cocoon Designs Peace Keeper 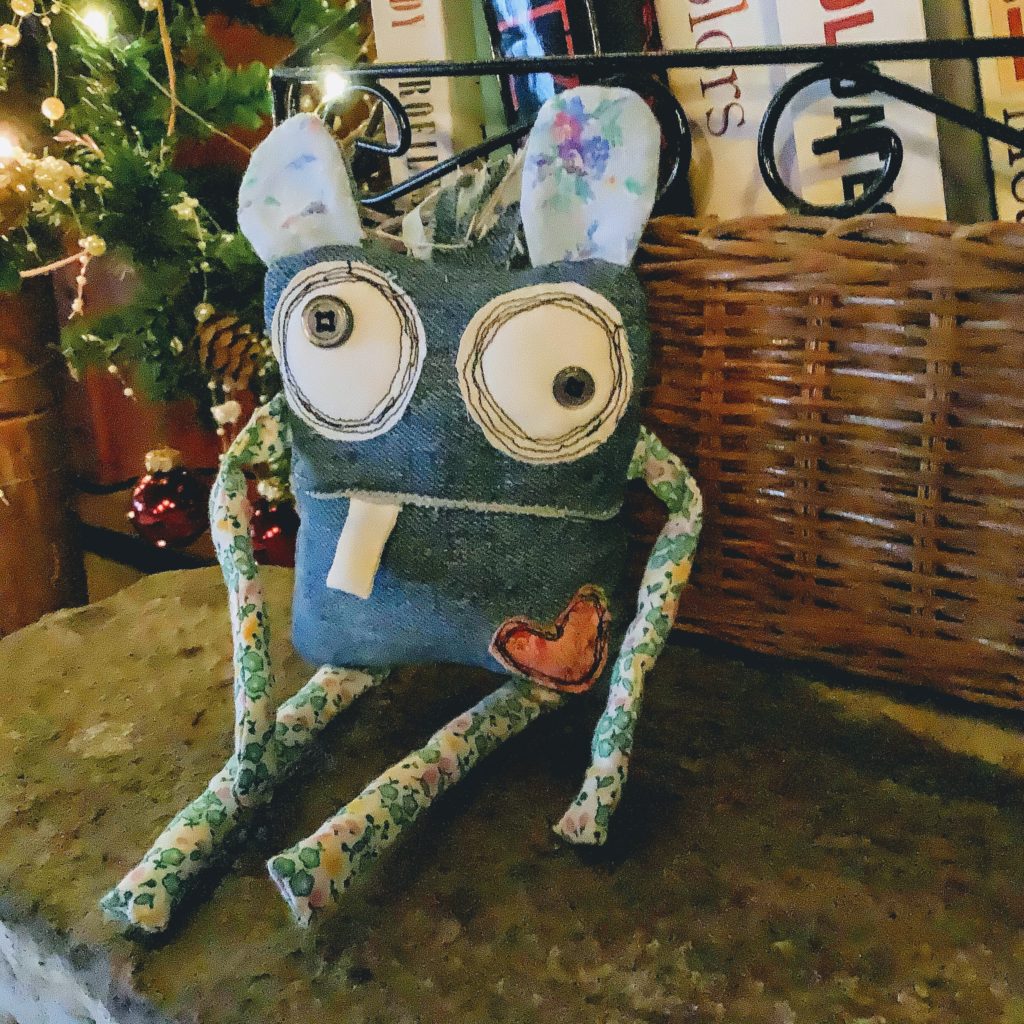
Crazy Stuffed Toy
Non-conforming Plush Characters
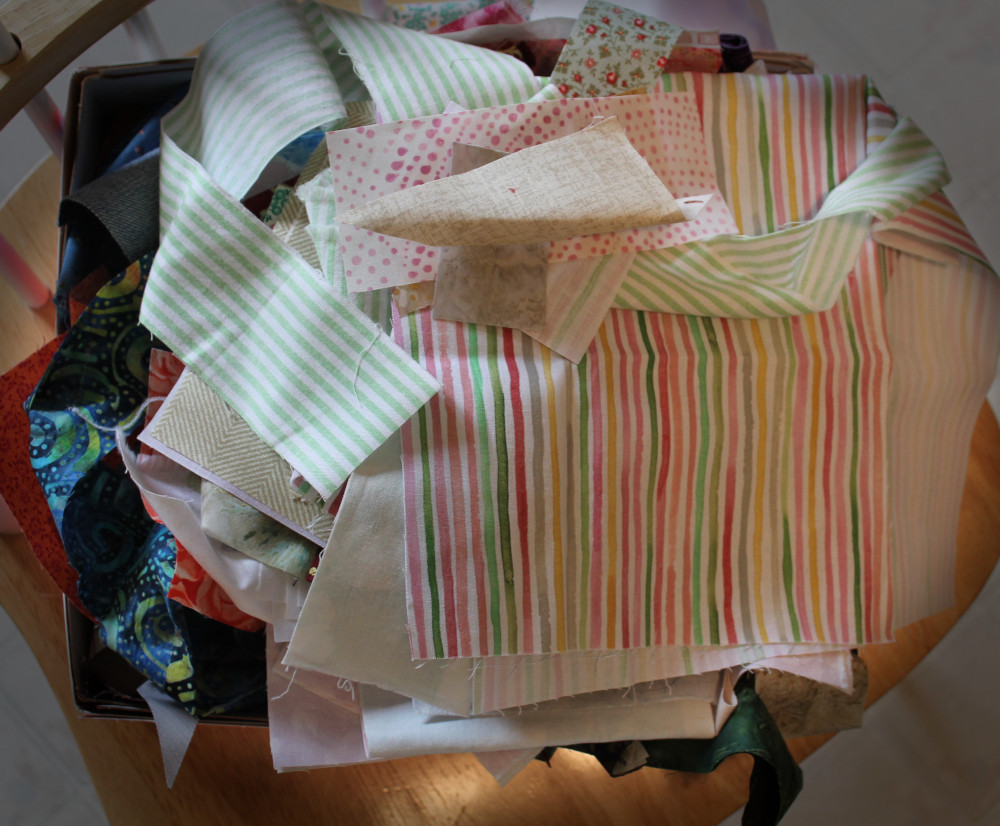
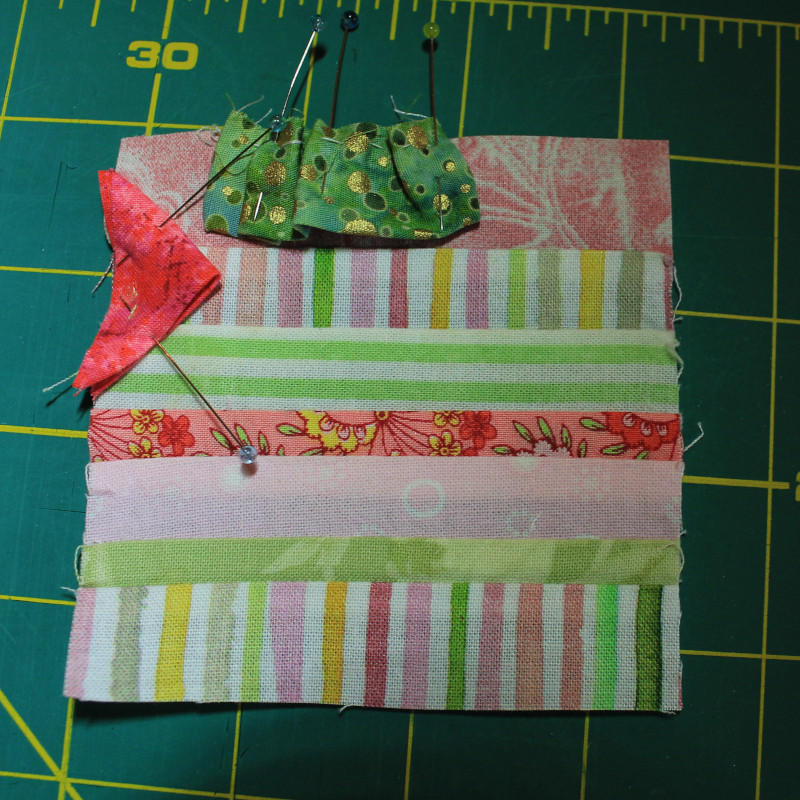
Using inspiration from sites like Suse Bauer from Germany (my Worry Stuffie) and Karna Erickson (Peace Keeper) I created my first original stuffie, Crazy. It was so fun to dig through my stash of scraps and play with ideas during the assembly. My sewing space literately looked like my fabric, ribbons, and zipper collections had exploded. It seemed no matter what I auditioned for my first creation, it worked. No chance to make a mistake!!
All the stuffies I have given away have been warmly received and loved. Of course, the un-conventional ones are given the ‘once over’ as if they need to be explained. The owl was more traditional and needed no explanation.
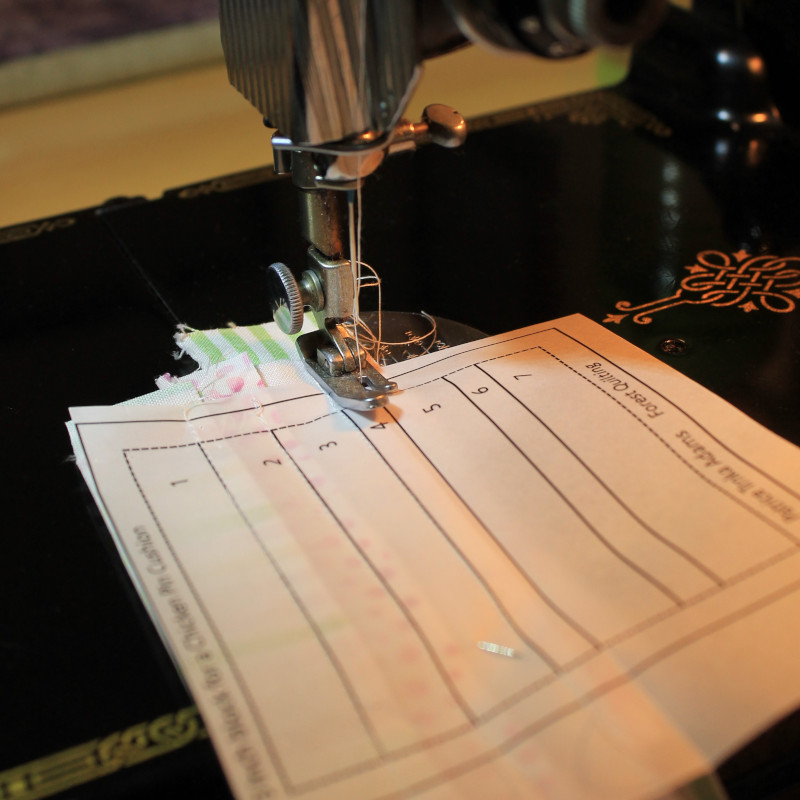
To get you started I am sharing my pattern for Juniper Owl. I included some very basic and brief instructions. If you have not sewn a stuffie before, consider starting with a medium-size non-conforming stuffie using a basic shape (ex. oval) and embellishing it as your creative spirit tugs you. Check out all the creative examples in Pinterest or a Google search. Most importantly, have fun.